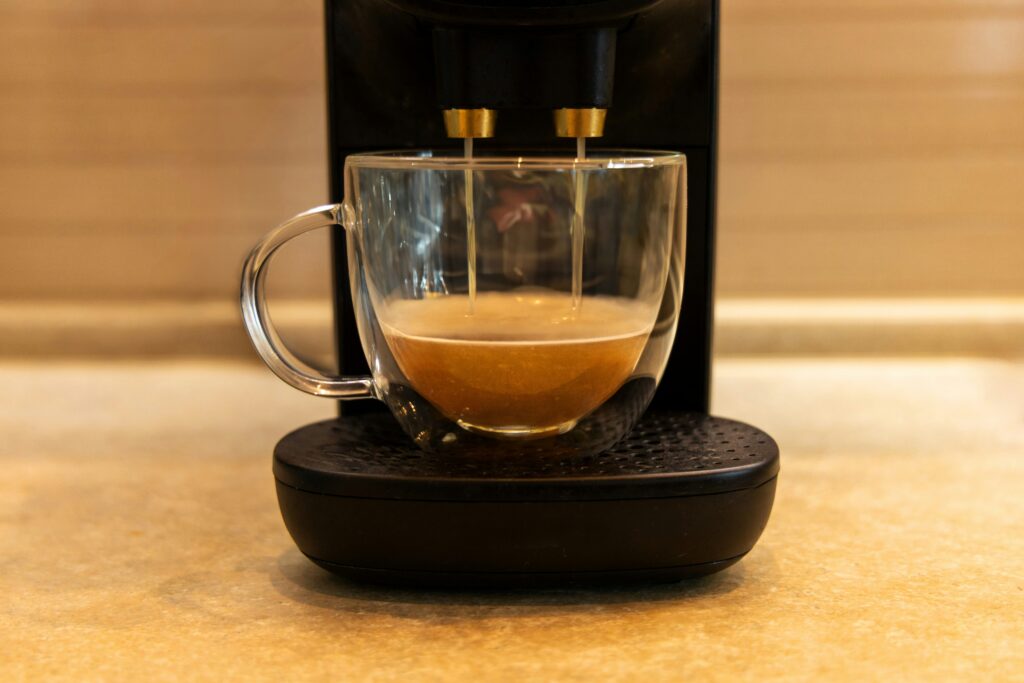
Honestly, nothing beats that first cup of coffee in the morning — except maybe another cup an hour later, but hey, who’s counting? Anyway, when your Keurig starts acting up — like brewing at a snail’s pace, spitting out sad, watery coffee, or tasting kinda funky—it’s probably screaming for a good clean. You’d be surprised at how much gunk (think old coffee oils, crusty minerals, maybe even some mystery bacteria) can pile up inside there. Not exactly the secret ingredient you want in your morning brew, right?
But don’t freak out or rush to buy some fancy $20 “descaling solution” or book a spa day for your coffee maker. All you really need is some basic white vinegar and water—stuff you probably already have lurking in your kitchen. I’ll walk you through the whole cleaning process in 7 super-easy steps, throw in some bonus tips for keeping your Keurig happy, and tackle those “wait, what about…?” questions everyone seems to have. Trust me, your coffee’s about to taste way better—and your caffeine addiction will totally thank you.

Why You Should Clean Your Keurig Regularly
Your Keurig might look squeaky clean sitting on the counter, but let’s be real—inside, that thing’s hustling nonstop. It’s cranking up the heat, pushing water through old coffee grounds, all so you can get your caffeine fix. Don’t let that shiny exterior fool you. Without proper cleaning, you’ll face a few common issues:
- Limescale gunk: Hard water basically throws a calcium party in your machine, leaving crusty deposits that’ll clog things up before you know it.
- Coffee oil sludge: All those pods? They leave oily junk behind. Ignore it, and your coffee starts tasting like it’s been sitting in an old ashtray.
- Gross germs & mold: Leave water chilling in the reservoir for too long and, surprise, it turns into a cozy Airbnb for bacteria and mold.
- Weak performance: Suddenly your brewer’s crawling at a snail’s pace, barely dribbling out half a mug, or — worse — refusing to work at all.
Pro Tip: Give your Keurig a good cleaning every month or two—maybe even more often if you’re running it nonstop or your tap water’s basically a mineral cocktail. Hard water? Yeah, you’ll probably want to scrub it out sooner rather than later unless you enjoy that weird, crusty buildup. No one wants a grumpy coffee maker, right?
What You’ll Need to Clean Your Keurig
Cleaning this thing is dead easy — you’ve probably got all the stuff you need lurking under your sink or jammed in a kitchen drawer somewhere. Here’s what you’ll want to grab before you dive in:
– Some white vinegar
– Fresh water
– A big mug
– A cloth or sponge that isn’t totally gross
– Dish soap, just in case you wanna scrub the removable bits
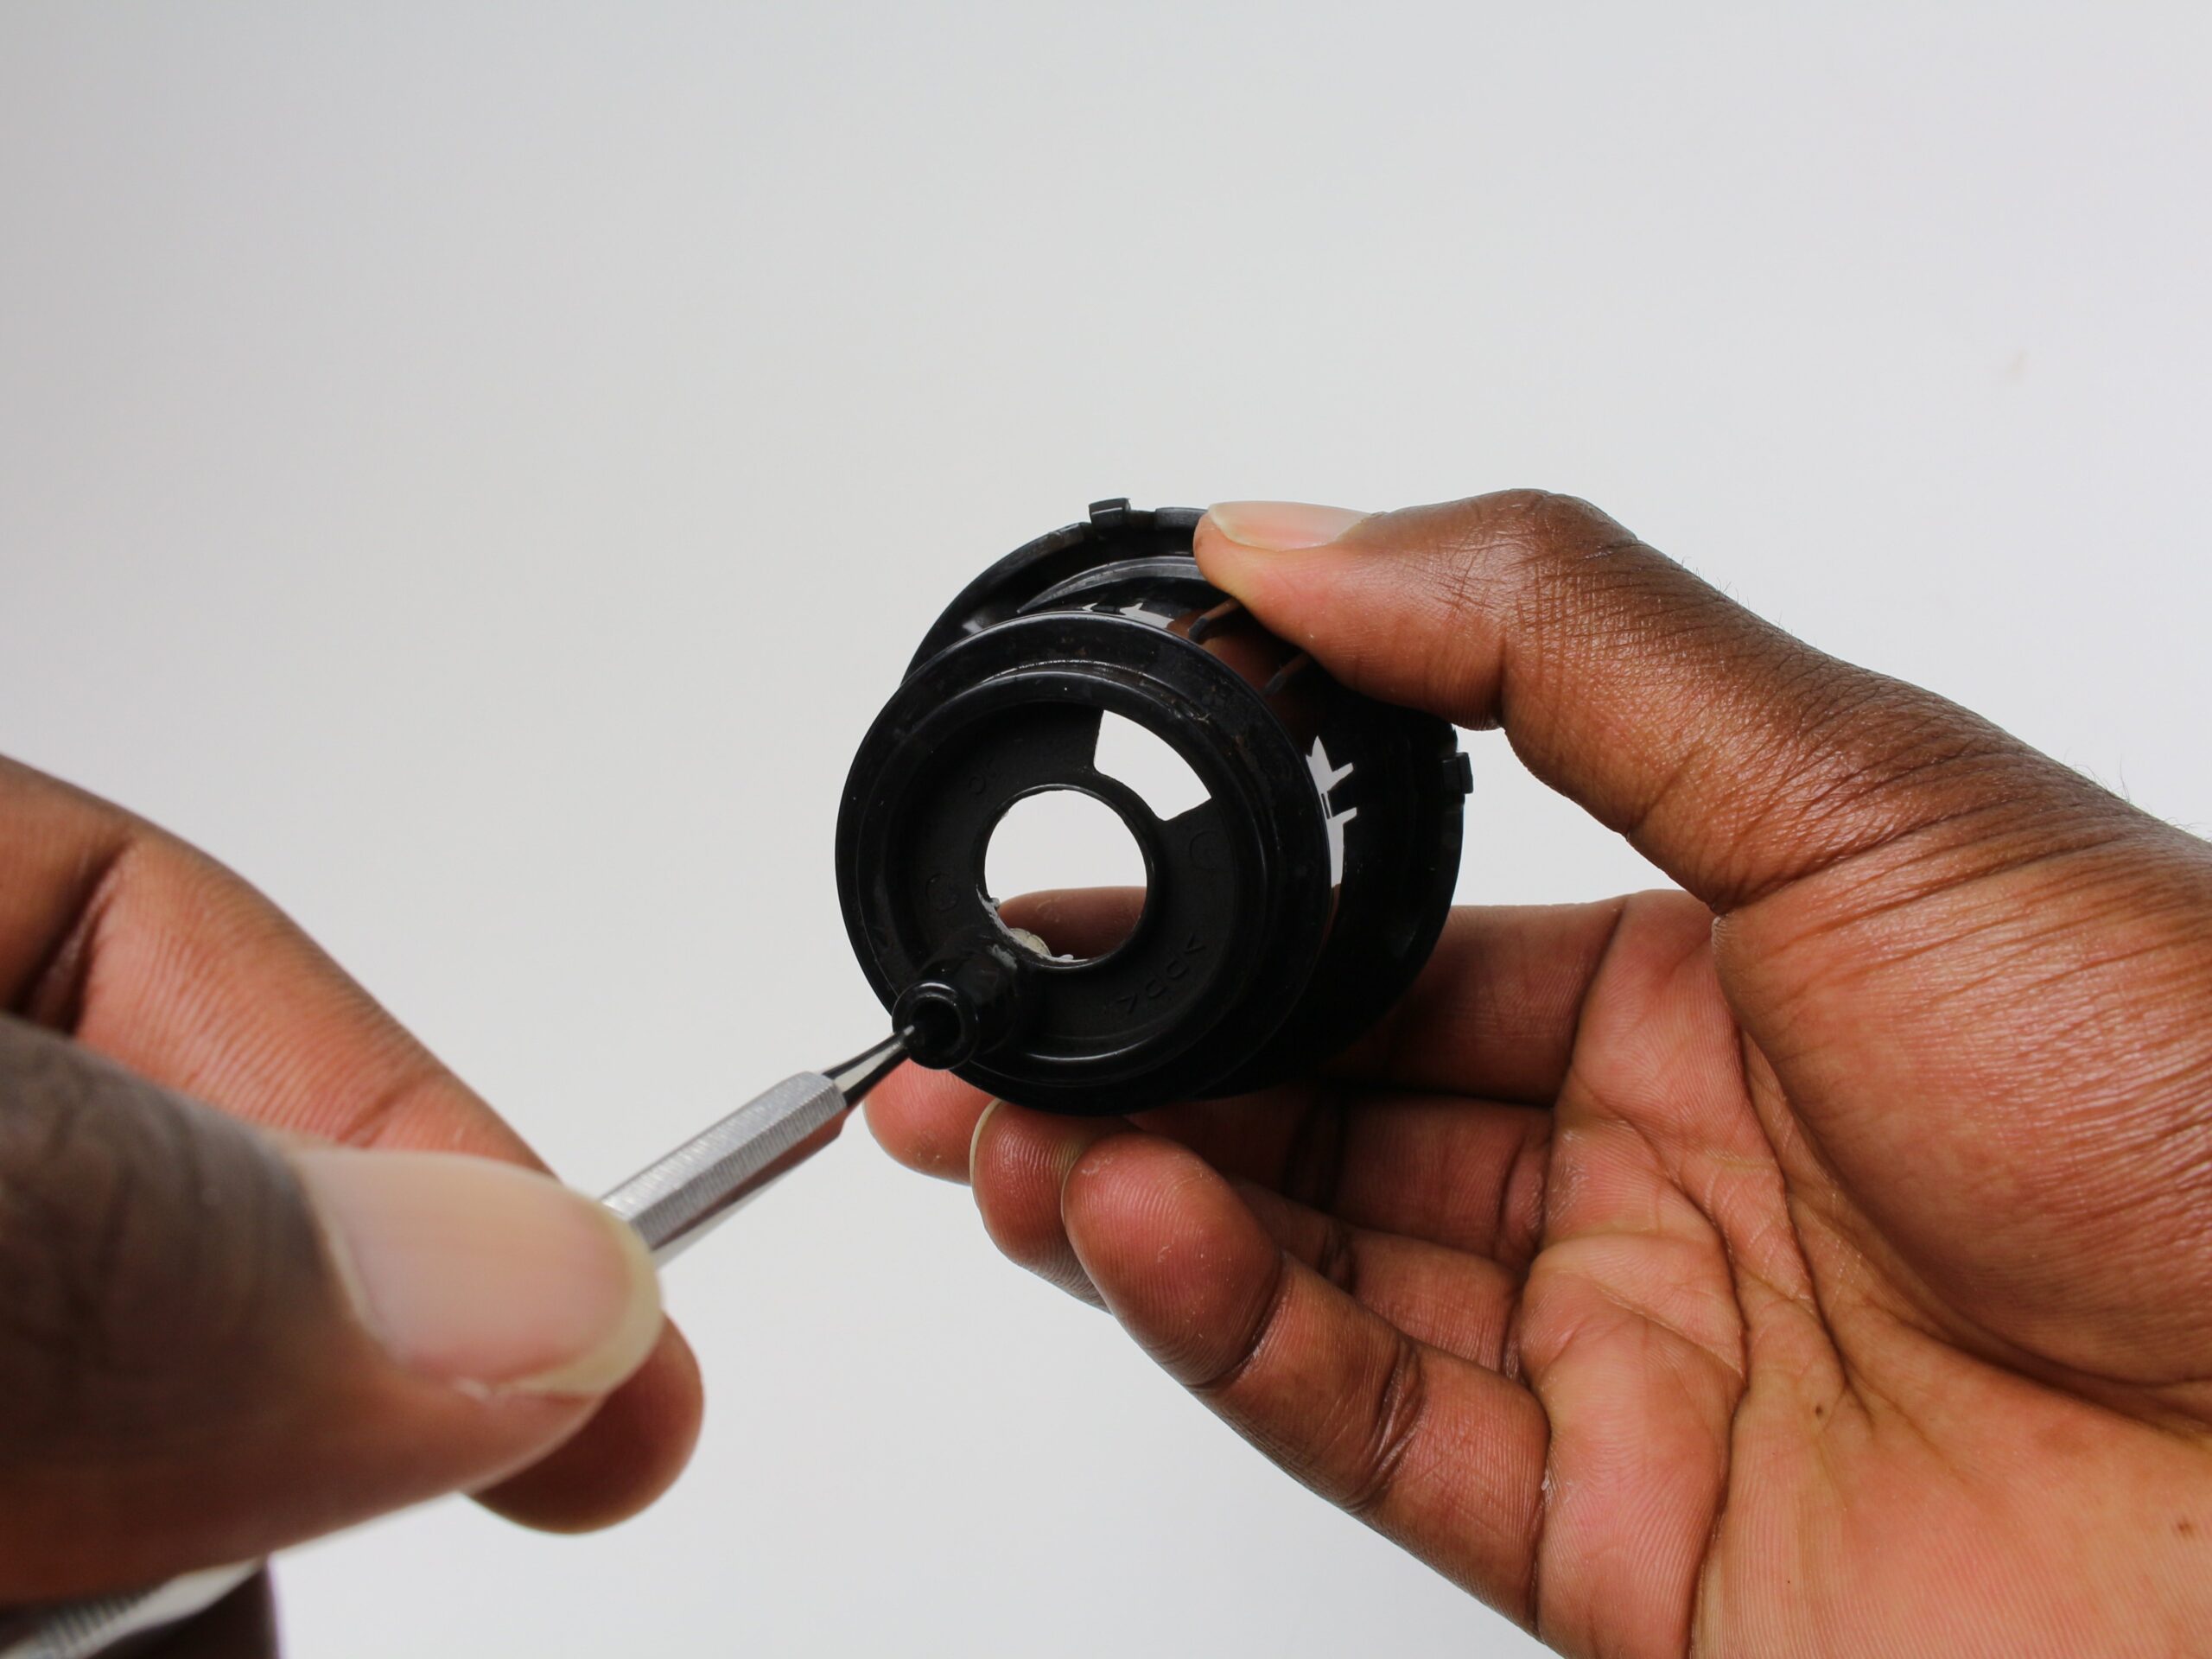
– Oh, and a paperclip or needle—perfect for poking out any gunk clogging the brewer needle

How to Clean a Keurig Coffee Maker with White Vinegar: 7 Simple Steps
Step 1: Prepare Your Machine
First things first — yank that Keurig’s plug outta the wall and let it chill for a bit. No need to burn your fingers off, right? Snag any sad, forgotten K-Cup outta the holder (we all leave them in there sometimes, don’t judge), and dump out all the water from the reservoir. Seriously, safety isn’t optional — don’t mess around.
Step 2: Disassemble and Clean Removable Parts
Alright, here’s the real deal: yank off the water tank, pop out that drip tray, and fish out the K-Cup holder. Give them all a nice scrub in hot, soapy water — don’t be shy, get in there. Rinse the heck outta everything (nobody wants a latte with a side of Dawn), then just leave them chilling on the counter to dry. For the outside? Grab a damp rag and wipe it down. Boom, coffee stains and random gunk, gone.
Step 3: Fill the Reservoir with White Vinegar
White vinegar’s basically the OG cleaning hack — super cheap, works like magic. If you’re just doing a quick clean, splash in some water, half and half with the vinegar. But if there’s some gnarly gunk, skip the water and go full-strength. Just dump that stuff right into the reservoir till it’s topped up. Easy.
Step 4: Run a Brewing Cycle with Vinegar
Grab your biggest mug — yeah, the one you never use because it’s basically a soup bowl with a handle — and shove it under the dispenser. Don’t bother popping in a K-Cup; just hit brew like you usually would. Once it spits out that hot, vinegary mess, chuck it straight down the drain (hold your nose, seriously). Do this a few times until the water tank is almost dry, but not totally empty. You want a bit of that vinegar hanging around inside to do its thing.
Step 5: Let the Vinegar Sit
Switch the machine off and just let that vinegar hang out inside for half an hour, maybe up to an hour if you’re feeling patient. That’s where the magic happens — the vinegar gets in there, eats away at all the nasty gunk, old coffee oils, and whatever else might be lurking in the guts of your coffee maker. Honestly, it’s kinda gross, but hey, it works.
Step 6: Rinse the Machine Thoroughly
Once you’ve let it soak, just dump out whatever vinegar’s still hanging around. Give the reservoir a good rinse — don’t be shy about it — then fill it back up with fresh water. Now, here’s the annoying part: run plain water through the thing three or four times (yeah, it’s a bit of a chore), just to make sure you’re not getting a mouthful of vinegar surprise in your next cup. Keep going until that nasty vinegar smell is totally gone. Seriously, trust your nose.
Tip: If the vinegar taste lingers, refill and rinse again until it’s completely gone.
Step 7: Final Wipe Down & Reassemble
Grab those parts you left drying — yeah, all of them — and slap that Keurig back together. Make sure nothing’s backwards (been there, done that). Give the outside a quick once over with a towel so it actually sparkles. Now, unless you missed some epic coffee crime scene inside, you’re good to go. Your machine’s all fresh, descaled, and basically begging you for a test brew. Coffee time!

Extra Tips for Maintaining Your Keurig
- Ditch tap water — filtered the way to go unless you’re into crusty minerals clogging up your coffee maker.
- After you’ve made hot chocolate, tea, or anything flavored, run a plain hot water cycle — no pod. Otherwise, you’ll end up with sticky, weird-tasting coffee next time. Nobody wants that.
- Give the outside a wipe down once a week. Just a damp cloth, nothing fancy — it keeps the thing from looking sad and grimy.
- Once a month, actually wash the reservoir and the drip tray. Seriously, bacteria are not your friends.
Every three months or so, go all in — descale with vinegar or grab the official Keurig cleaner if you’re feeling bougie
Common Mistakes to Avoid When Cleaning a Keurig
- ❌ Using bleach or harsh chemicals: These can damage the machine and leave harmful residues.
- ❌ Skipping the rinse step: Vinegar must be completely flushed out, or your coffee will taste sour.
- ❌ Forgetting the needle: The needle that punctures K-Cups can get clogged with coffee grounds. Use a paperclip to gently clear it if needed.
- ❌ Waiting too long between cleanings: Neglecting your machine leads to poor performance and bad-tasting coffee.
FAQs About Cleaning a Keurig
1. Can I use apple cider vinegar instead of white vinegar?
Yes, but it’s not ideal. Apple cider vinegar can leave behind a lingering smell and taste. White vinegar is odorless once rinsed and more effective for descaling.
2. How often should I descale my Keurig?
Keurig recommends descaling every 3 months, but if you use your machine daily or live in an area with hard water, you may need to clean it monthly.
3. Do I need to buy Keurig’s official descaling solution?
Not necessarily. Keurig sells a branded solution, but white vinegar works just as well and is more budget-friendly.
4. My Keurig is still slow after cleaning. What should I do?
Check the needle for clogs using a paperclip. If the problem persists, repeat the vinegar cleaning process or consider replacing the water filter inside the reservoir.
5. Can I run vinegar through my Keurig Mini or K-Slim?
Yes! The steps are the same, though you may need to run smaller cycles since the water reservoir is smaller.
Conclusion
Cleaning your Keurig isn’t rocket science. Grab some white vinegar, water, and maybe toss on a podcast — boom, you’re halfway done. Trust me, if you stay on top of it, your coffee actually tastes like coffee (not that weird mystery flavor), and your machine won’t give up on you when you need it most. Plus, who wants to shell out cash for a new one just because of some gunk buildup? Not me.


