If you’ve ever wondered why your Keurig coffee suddenly tastes like sadness and regret, it’s probably because there’s a funky science experiment growing inside it. Seriously, those coffee oils? They don’t just disappear. Mineral gunk and bacteria? Yeah, they love cozying up in your machine too. Ignore the mess long enough, and you’ll end up with java that tastes like old socks, plus a brewer that wheezes slower than your grandma on a treadmill. So, if you actually want decent coffee (and a machine that doesn’t quit on you mid-morning), you gotta clean that thing. Here’s the lowdown on how to actually get it done — no PhD required.
Why Cleaning Your Keurig Is Essential
Like any appliance, a Keurig needs regular maintenance. Without cleaning, you risk:
- Clogging Issues: Coffee grounds can block the needle, disrupting proper water flow through the machine.
- Mineral Deposits: Minerals from tap water accumulate over time, decreasing the machine’s efficiency and performance.
- Flavor Contamination: Residual oils and buildup from previous brews lead to stale or unpleasant coffee flavors.
- Maintenance & Longevity: Neglecting regular cleaning and maintenance increases the risk of breakdowns, repairs, or premature replacement.
By keeping it clean, you extend the life of your machine and enjoy consistently great coffee.
Supplies You’ll Need
Prior to beginning the procedure, ensure you have assembled the necessary materials:
- White vinegar or Keurig-branded descaling solution
- Clean, fresh water
- A damp, lint-free cloth or sponge
- A paperclip or small brush for clearing needle obstructions
- Dish soap for sanitizing removable components
- A large-capacity mug for collecting rinse water

How to Clean a Keurig: Step-by-Step
Step 1 — Unplug and Disassemble
- Unplug the Keurig machine before starting any cleaning.
- Remove all detachable components:
- Drip tray
- Pod holder
- Water reservoir and lid
- Wash each part with warm, soapy water.
- Rinse thoroughly to ensure no soap residue remains.
- Allow all components to air dry completely before reassembling.
Step 2 — Wipe Down the Exterior
Use a damp cloth to remove dust, splashes, and fingerprints from the exterior surfaces. Focus on the brewing handle and control buttons, as residue tends to accumulate in these areas.
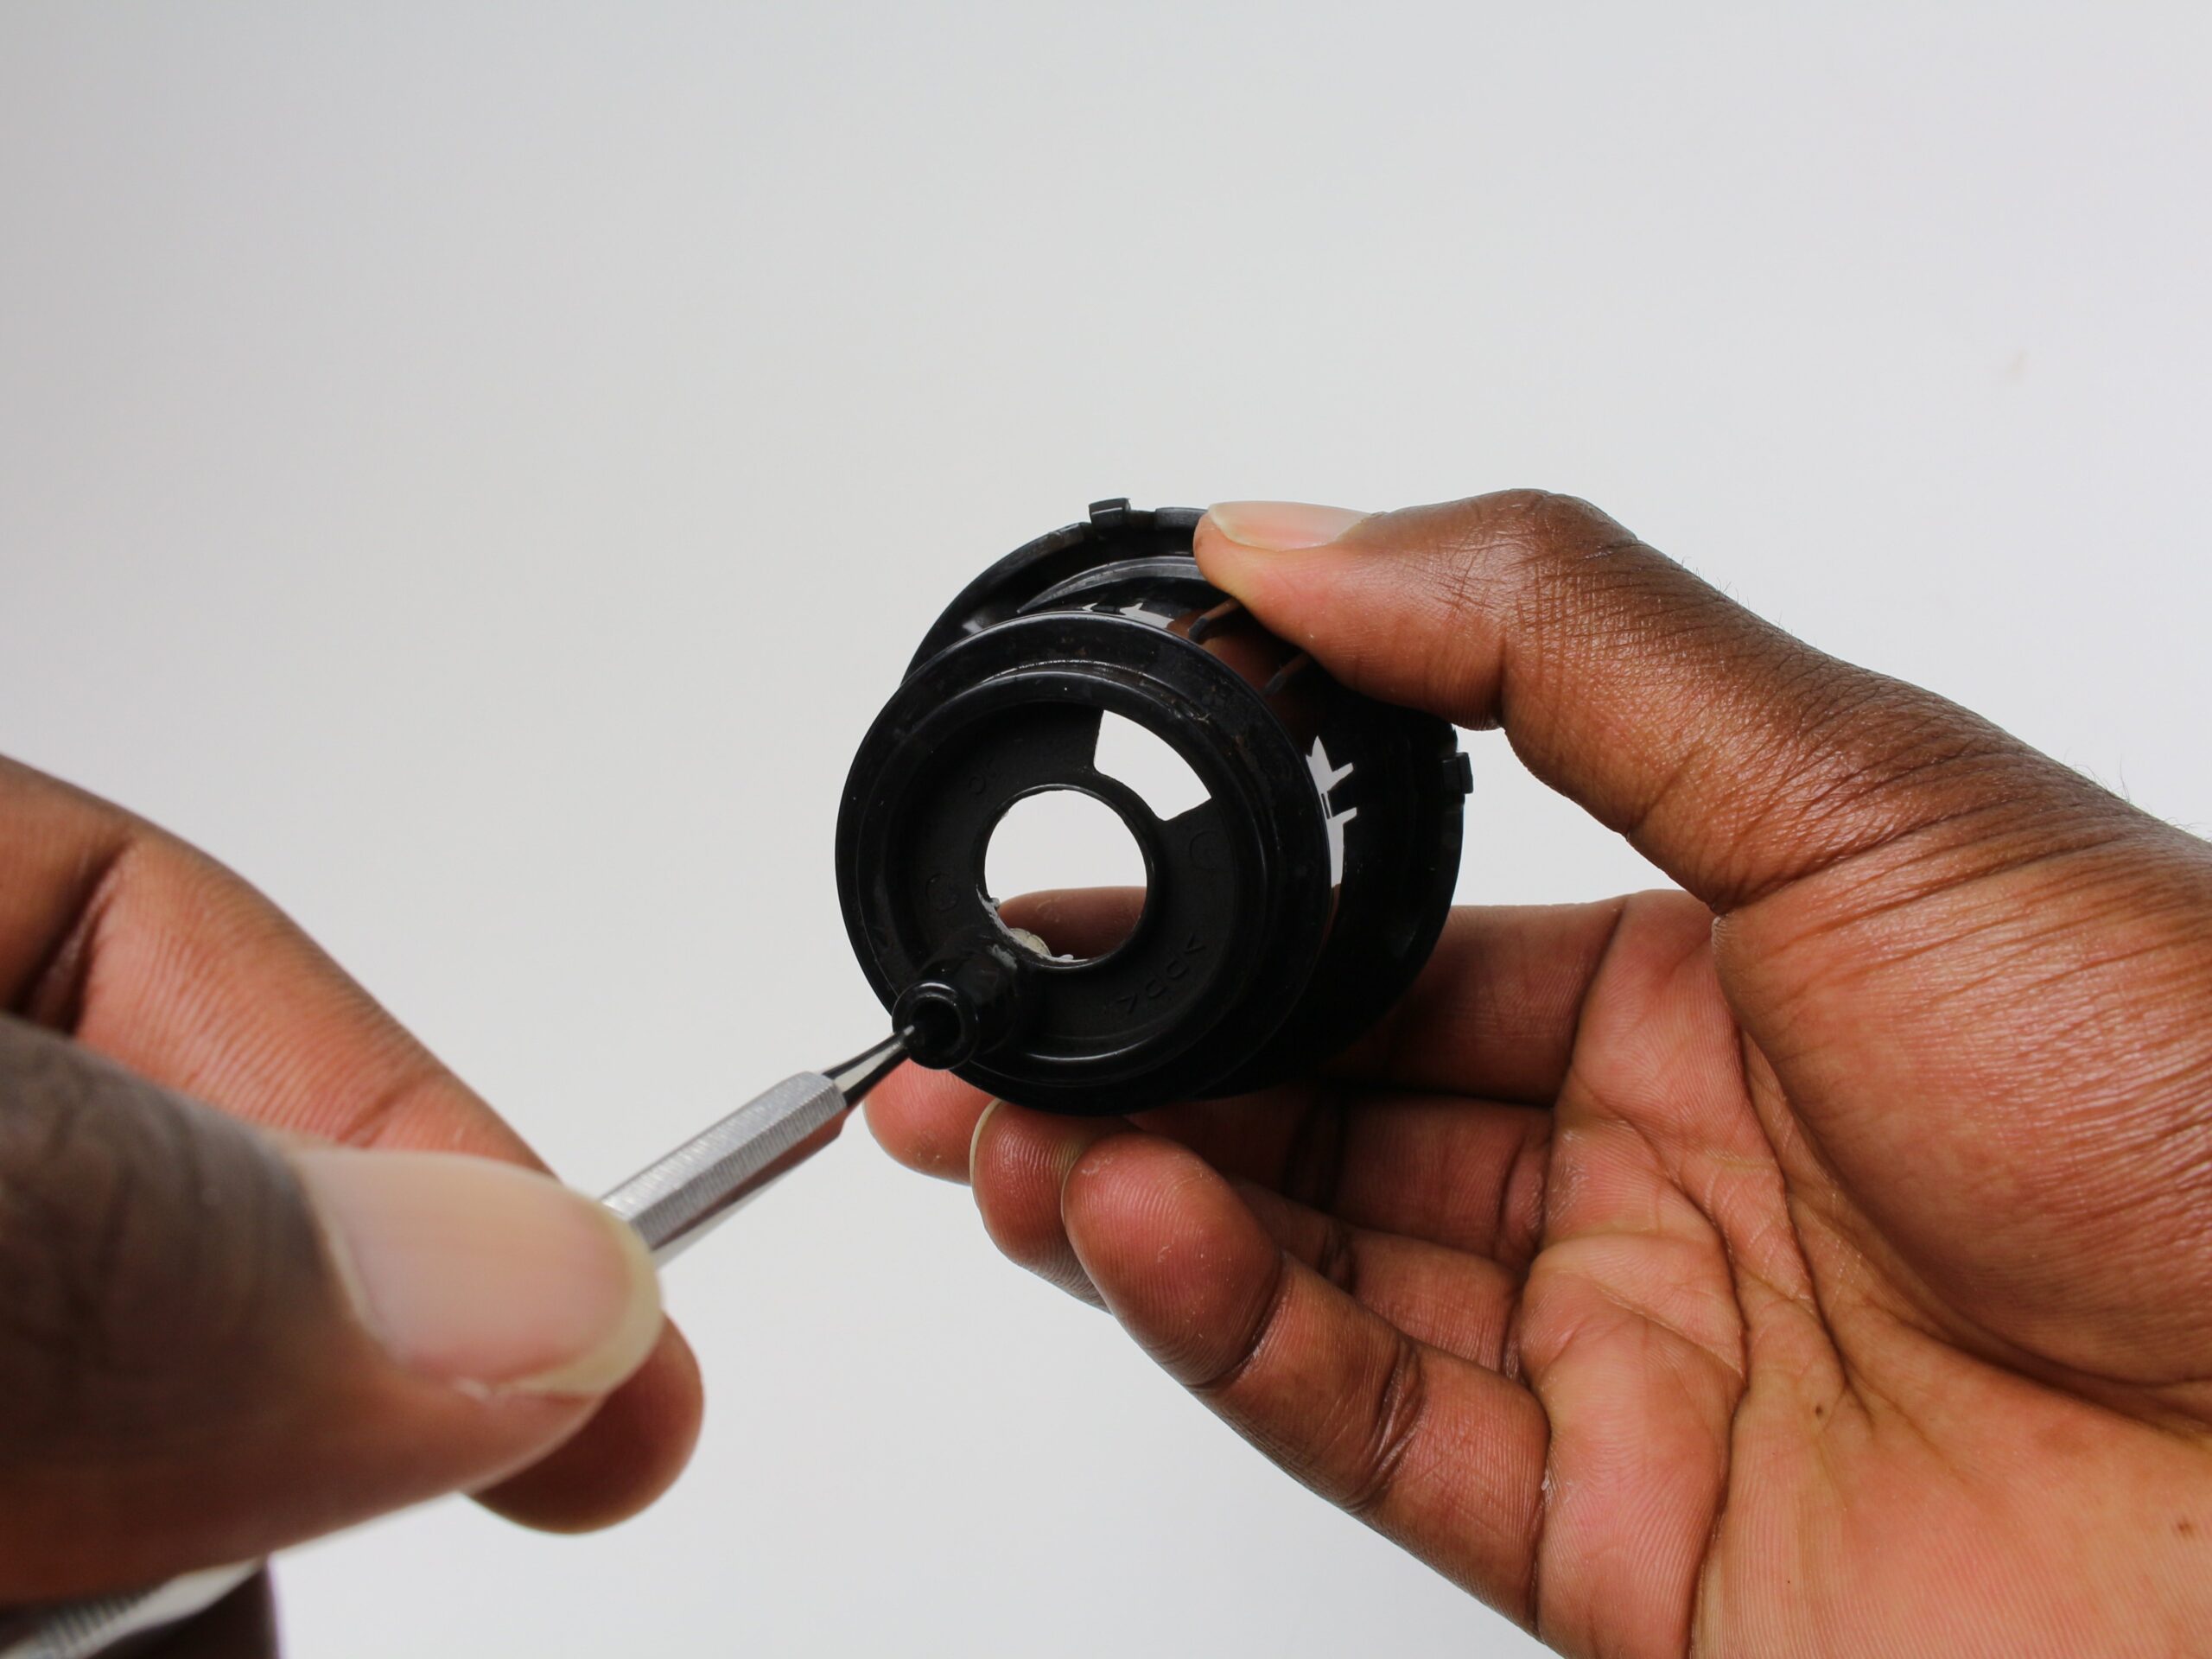
Step 3 — Clean the Needles
The entrance and exit needles tend to accumulate coffee grounds, which leads to blockages. To address this, take a straightened paperclip or a designated needle-cleaning tool and carefully insert it into the needle openings to clear out the debris. Once you’ve dislodged the buildup, run a rinse cycle to flush out any remaining particles.
Step 4 — Descale the Internal System
Descaling eliminates mineral deposits inside the machine. Here’s how you handle it:
- Fully drain the water reservoir.
- Refill halfway with white vinegar; add water until full (or substitute with a commercial descaler).
- Position a large mug on the drip tray to collect liquid.
- Initiate brew cycles without inserting a K-Cup, continuing until the reservoir is empty.
- Allow the machine to rest for 30 minutes so the vinegar solution can dissolve internal deposits.
This process helps maintain optimal performance and extends the unit’s lifespan.
How Often Should You Clean a Keurig?
- Daily: Remove and empty the drip tray; rinse all detachable components under running water.
- Weekly: Clean the water reservoir, its lid, and the pod holder thoroughly using warm, soapy water. Ensure all soap residue is rinsed away.
- Every 3–6 months (or more frequently in areas with hard water): Conduct a complete descaling cycle, following manufacturer guidelines, to maintain optimal machine performance and prevent mineral buildup.
Tips for Better Keurig Maintenance
- Always use filtered water—that’ll cut down on mineral deposits and keep the internal components running smooth.
- Remove used pods right after brewing. If you leave them in, you’re basically inviting blockages and performance issues.
- Store the machine somewhere clean and dry; moisture and dust are a recipe for mold or malfunction.
- If your model includes a water filter, replace it every two months. Regular filter swaps help maintain water quality and machine longevity.

Common Cleaning Mistakes to Avoid
- Omitting the rinse cycle after descaling can result in residual vinegar flavor contaminating the coffee.
- Utilizing aggressive chemicals rather than proper descaling agents or vinegar poses safety risks and may damage internal components.
- Allowing water to remain stagnant in the reservoir for extended periods fosters bacterial proliferation.
- Failing to maintain the needles often leads to partial brewing, such as the common “half-cup” issue.
Alternative Cleaning Solutions
If vinegar isn’t on hand, consider these alternatives:
- Citric Acid Solution: Mix 1 tablespoon of citric acid per cup of water.
- Lemon Juice: A natural acidic option, though additional rinsing may be necessary to avoid residue.
- Baking Soda Paste (for external cleaning only): Effective for removing stains and neutralizing odors.
Conclusion
Learning how to clean a Keurig is essential if you want fresh-tasting coffee and a reliable machine every morning. To maintain optimal performance, rinse your Keurig daily, wash it each week, and descale every few months. Routine cleaning not only improves coffee quality but also helps extend the lifespan of your machine.