Many coffee lovers notice their Keurig machine losing flavor or brewing slowly over time. Often happens due to mineral buildup inside the machine, which can lead to clogging and even damage if ignored. Learning how to descale Keurig properly can restore its performance, improve coffee taste, and extend its lifespan. In this guide, we’ll show you step-by-step methods to safely and effectively remove scale from your Keurig.
Why Descaling Your Keurig is Essential
Let’s be real — if you’re letting your Keurig go without a decent cleaning, you’re basically asking for a funky-tasting cup and a moody machine. Hard water’s sneaky like that. It leaves behind all these tiny minerals that pile up inside your brewer. That crusty junk? It’s called scale. Not exactly something you want in your morning routine.
Here’s why you should actually care:
- Your coffee will taste way better. No weird bitterness or off flavors because of those mineral gunk parties inside your machine.
- Your Keurig won’t croak early. Give it a little TLC, and it’ll last way longer. Trust me, those things aren’t cheap to replace.
- Brewing won’t feel like waiting for dial-up internet. Scale bogs down the water flow, so cleaning it out gets you back to that sweet, quick caffeine fix.
- It’s just… cleaner. Sure, a bit of scale won’t kill you, but do you really want to drink from a machine that looks like a science experiment? Didn’t think so.
- So yeah, descale the thing. Your taste buds (and future self) will thank you.
Signs Your Keurig Needs Descaling
Look, your coffee maker’s not gonna send you a handwritten letter when it’s time to descale, but it’ll drop some pretty obvious hints. Pay attention if the water starts dribbling out like it’s stuck in traffic, or your coffee suddenly tastes like sad bean water—either weak or weirdly bitter. Sometimes you’ll see a desperate little “Descale” light blinking at you like, “Help me, I’m suffering!” Oh, and if it starts making noises that sound like a tiny monster’s trapped inside? Yeah, that’s another clue. Don’t ignore it, unless you’re into broken machines and terrible coffee.
What You’ll Need for Descaling
Alright, here’s what you’ll wanna grab before you jump in:
- White vinegar (the cheap stuff is fine) or, if you’re feeling fancy, that official Keurig descaler stuff
- One big ceramic mug (skip the paper cups unless you like hot messes)
- Clean water—yeah, obvious, but don’t forget it
- A soft cloth for wiping down the outside, because nobody likes a crusty coffee maker
Tip: Using a commercial solution is often faster, but white vinegar is an effective budget-friendly alternative.

Step-by-Step Guide: How to Descale Keurig
Step 1 — Prepare Your Machine
- Flip the Keurig’s switch off and yank out the plug—don’t just leave it hanging there.
- Dump every last drop from that water tank. Seriously, make sure it’s bone dry.
- Fish out any sad, forgotten K-Cups still hanging out inside.
Step 2 — Add Descaling Solution
- Option 1: White Vinegar — Just dump in half vinegar, half water. That’s it. No fancy ratios, just eyeball it.
- Option 2: Commercial Solution — Check the label, do what it says. Seriously, don’t wing it with this stuff.
Step 3 — Start the Descaling Cycle
- Grab a big mug and plop it down on the tray — don’t overthink it.
- Hit “brew” (seriously, forget the K-Cup, just let the thing run).
- Dump out whatever hot mystery liquid comes out.
- Keep going — brew, dump, refill — till the tank’s bone dry. Yeah, it’s a little tedious.
Step 4 — Rinse Thoroughly
- Fill up the water reservoir with some fresh, clean water.
- Run a couple cycles — like, 2 or 3 — of just plain water through the machine to flush out any leftover vinegar or weird descaler taste.
- Basically, if your kitchen still smells like a salad, keep rinsing. Don’t brew coffee until that vinegary stink is totally gone.
Step 5 — Clean External Parts
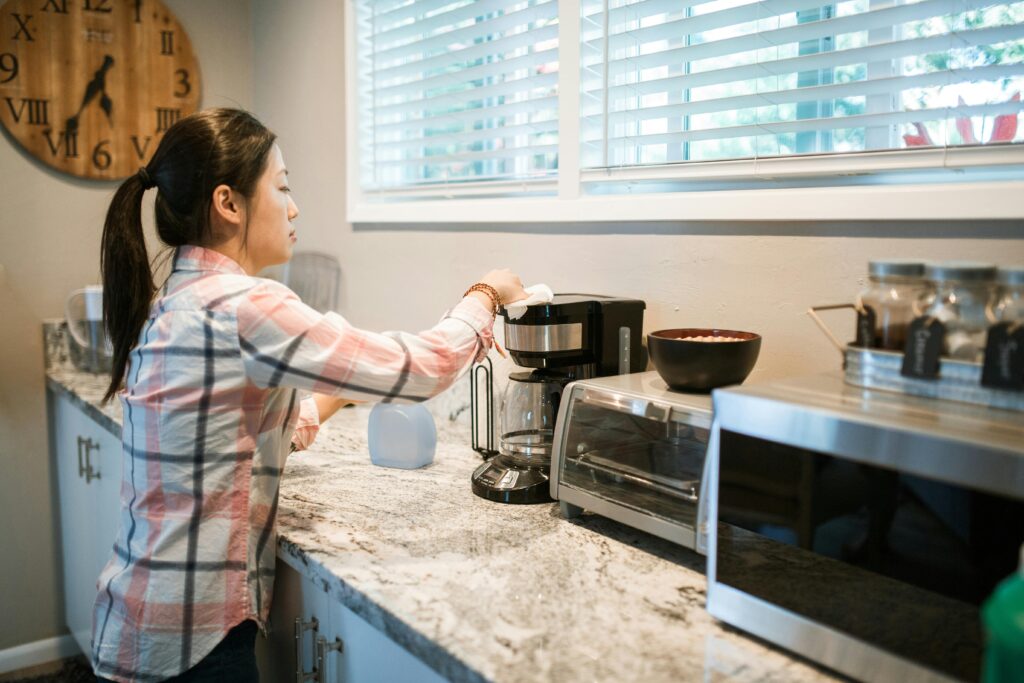
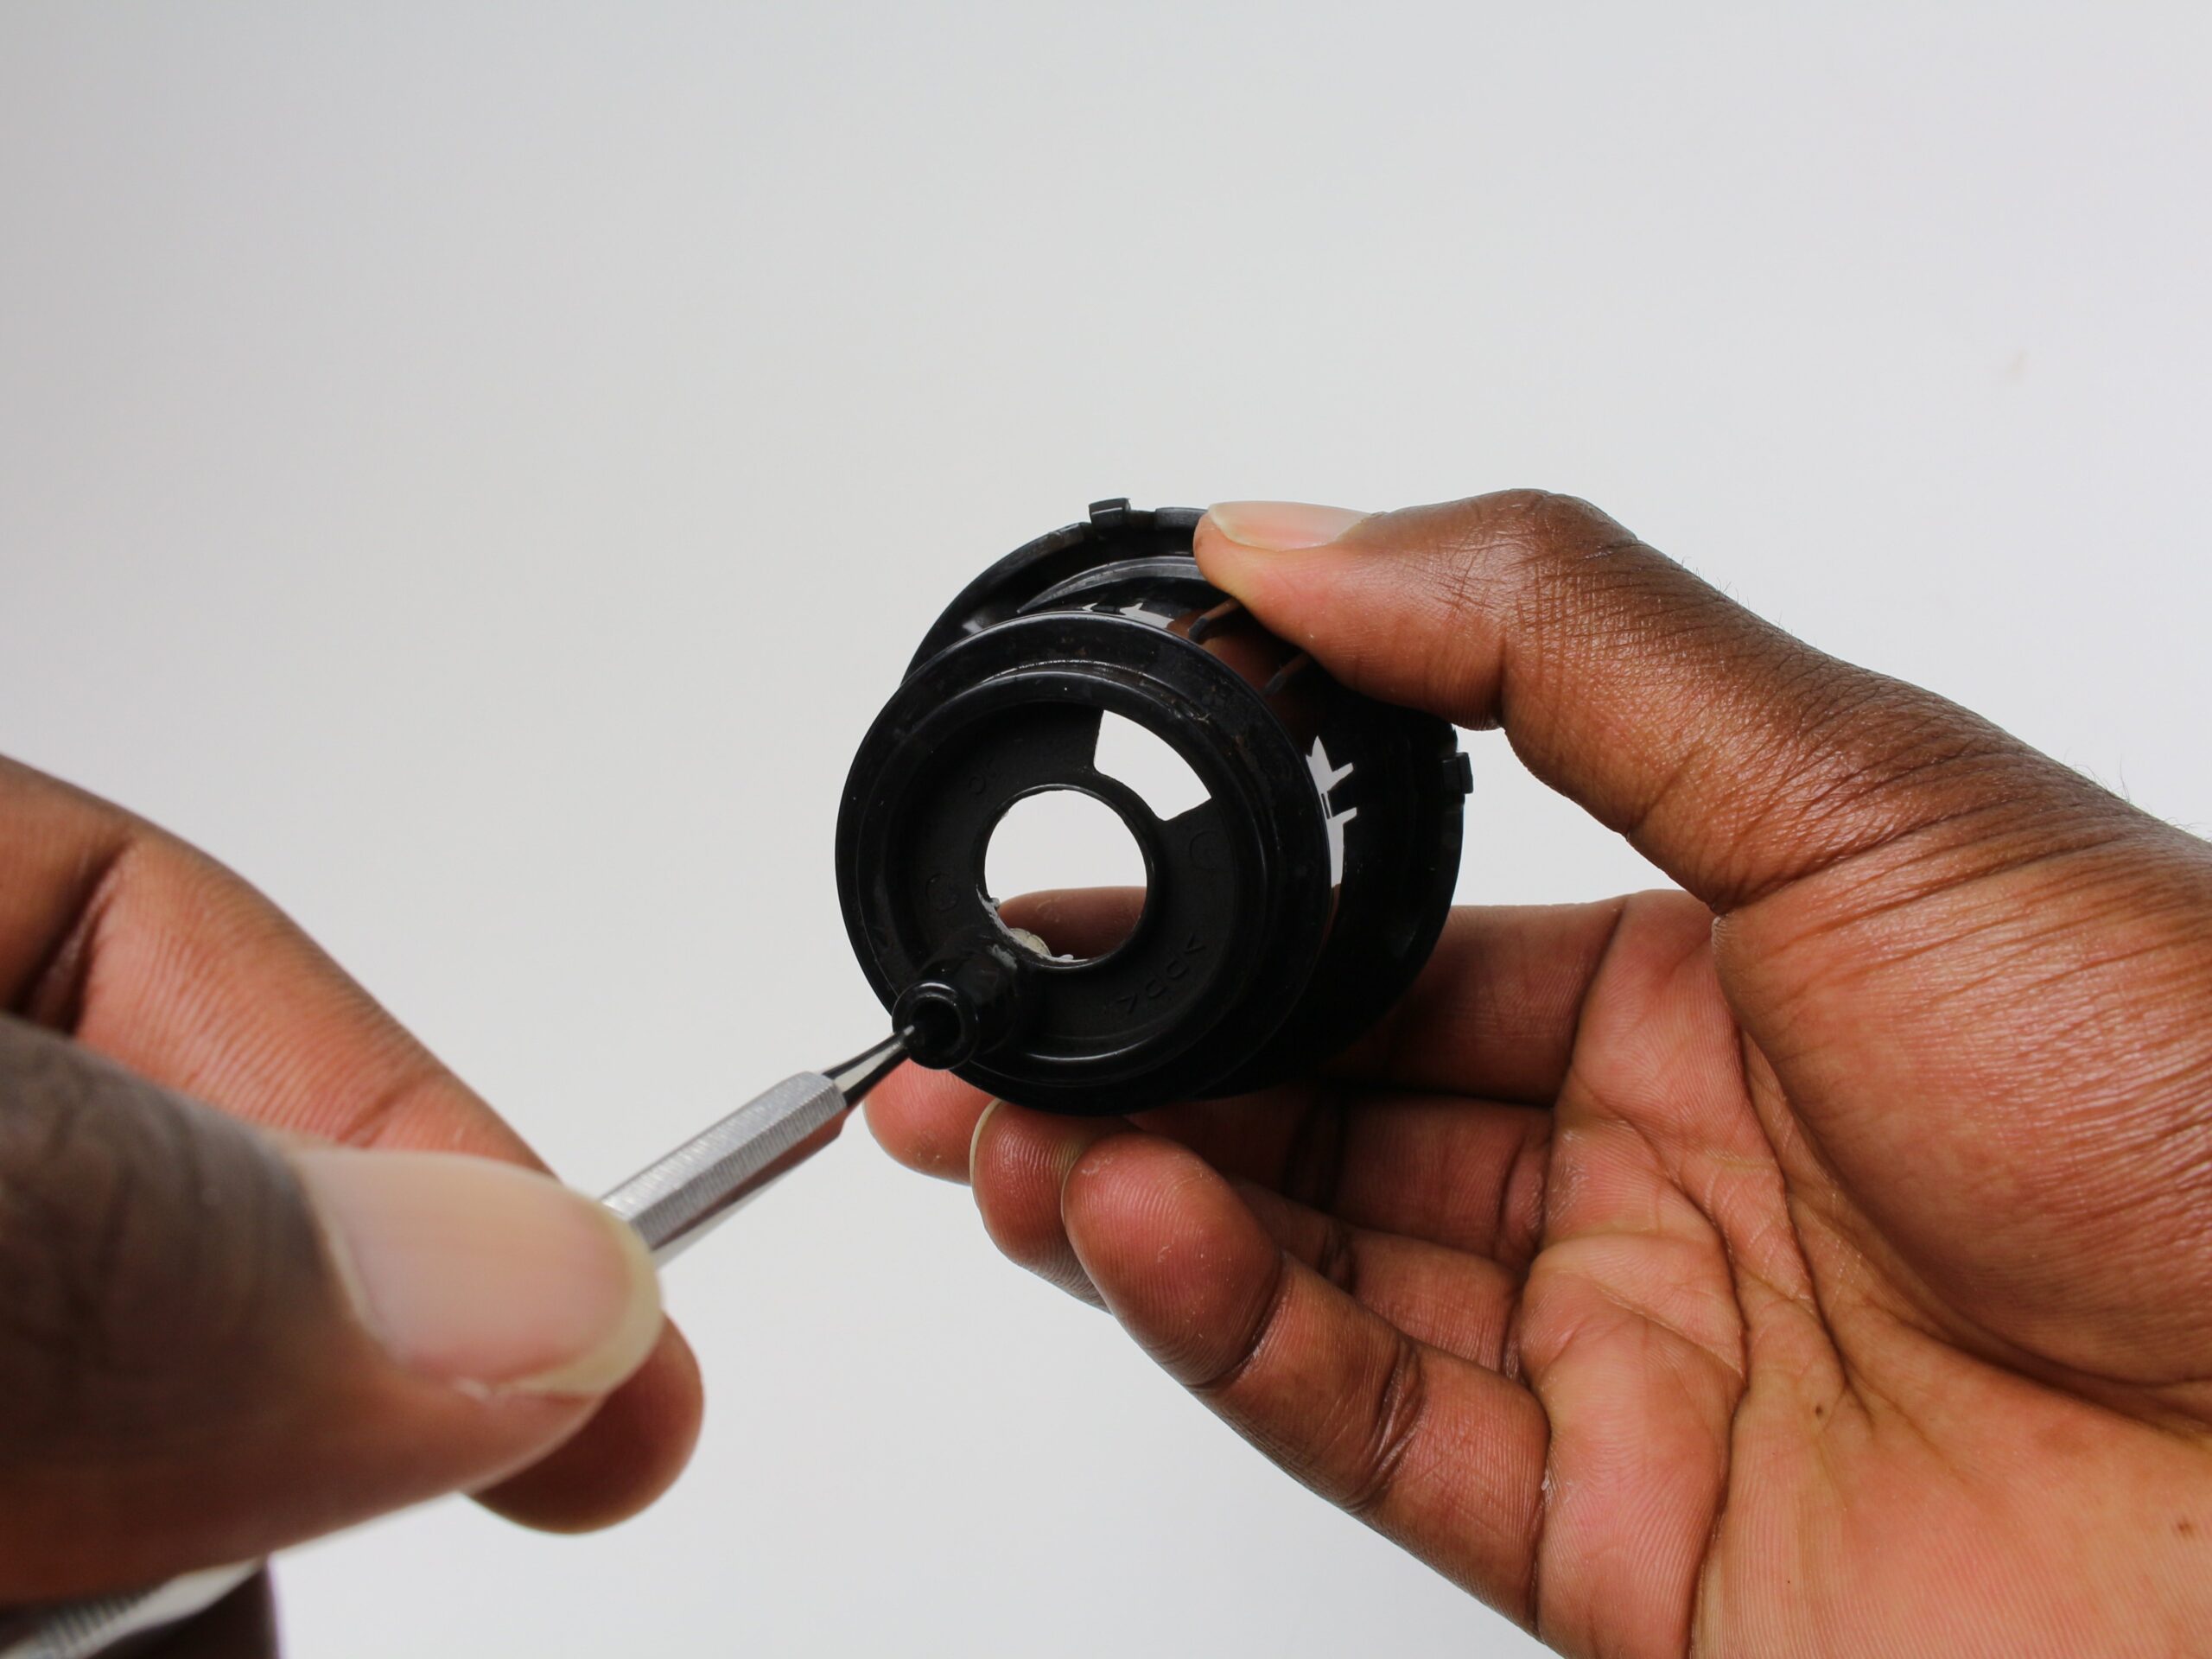
Grab a soft cloth and wipe down the outside, the drip tray, and the pod holder—don’t forget those sneaky little corners. Oh, and the needle? Make sure it’s not packed with old coffee gunk. If you spot any clogs, just poke ’em out gently. No need to be a hero and break anything.
Tips for Maintaining a Keurig
Look, if you don’t wanna be scrubbing out limescale every other week, a little routine goes a long way:
- Filter your water. Trust me, your machine will thank you — way less gunk than straight-up tap.
- Dump out the water tank every day. Stale water’s just gross, and nobody wants a bacteria party in their coffee maker.
- Give all the parts you can remove a quick wash once a week. It’s not rocket science, just rinse and go. Stops that weird buildup before it even starts.
- Oh, and actually read the manual for once. I know, shocking. But descaling when they say to? Saves you a headache down the road.
Common Mistakes to Avoid
Alright, here’s the deal — don’t mess up your descaling routine:
- Seriously, rinse the thing after using vinegar or whatever solution. Otherwise, your next cup’s gonna taste like a chemistry set gone wrong.
- Ditch the paper cups. Trust me, they’re just waiting to betray you and overflow all over your counter.
- That little “Descale” light? Don’t just pretend it’s not there for months — unless you’re into drinking sludge, I guess.
- And for the love of your machine, stop with the harsh chemicals. You’re not trying to strip paint, just clean some coffee gunk.
No one wants a busted coffee maker or nasty-tasting brew, right?

Alternatives to Vinegar for Descaling
Not a fan of vinegar? No worries, you’ve got options:
- Grab a commercial descaler—those things are basically built for Keurigs, so you can’t really go wrong.
- Citric acid works too. Just toss a tablespoon or two in some water and let it do its thing. Pretty effective, honestly.
- Or hey, got lemon juice? It’s a gentler acid. Won’t pack the same punch as vinegar or those fancy store-bought descalers, but it’ll get you by in a pinch.
Conclusion
Learning how to descale Keurig properly ensures your coffee machine stays efficient, clean, and long-lasting. Regular descaling not only improves flavor but also prevents costly repairs. By following the step-by-step guide above and incorporating weekly and monthly maintenance habits, you can enjoy fresh, delicious coffee every day. Don’t let scale build up — keep your Keurig performing at its best!


